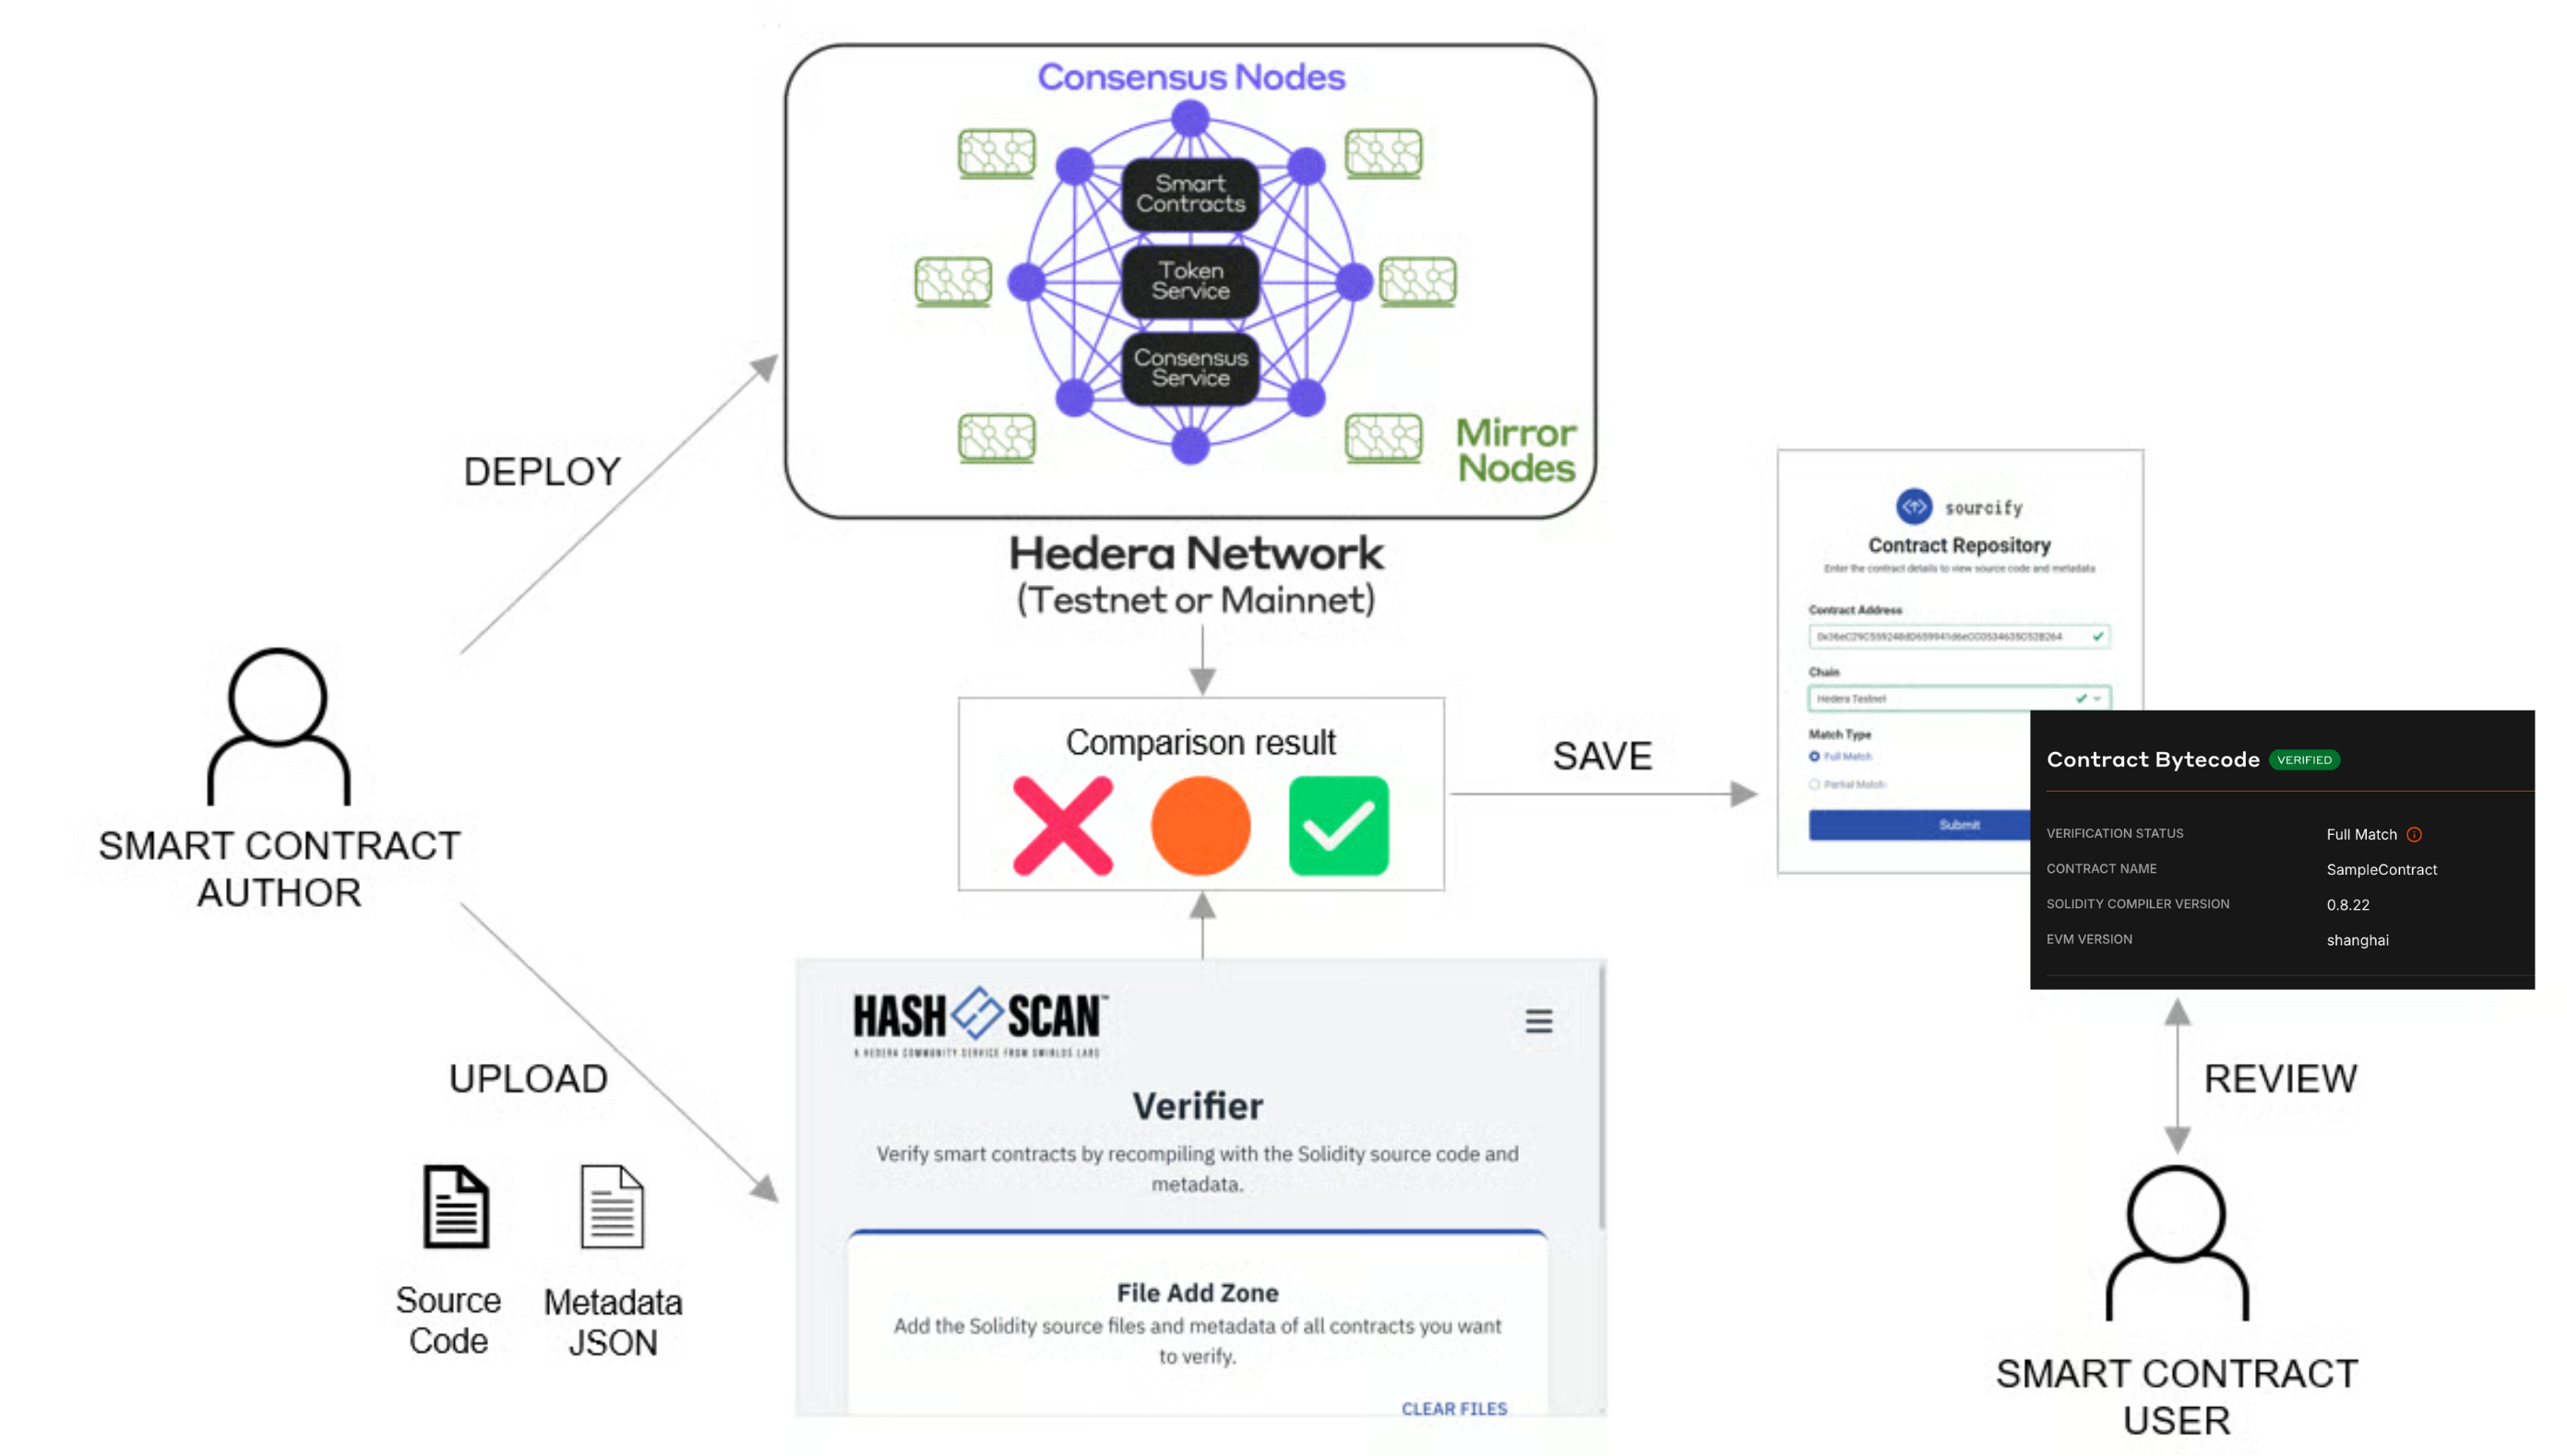
📣 Note: This is an initial release. API functionalities will see
enhancements in upcoming updates of the
https://github.com/hashgraph/hedera-sourcify
repository.
Prerequisites
- Solidity source code file of the deployed smart contract.
- Solidity JSON (metadata) file of the deployed smart contract.
- EVM address of the smart contract deployed on the Hedera network.
Table of Contents
- Find the Contract
- Import Source Files
- Verify Contract
- Verification Match
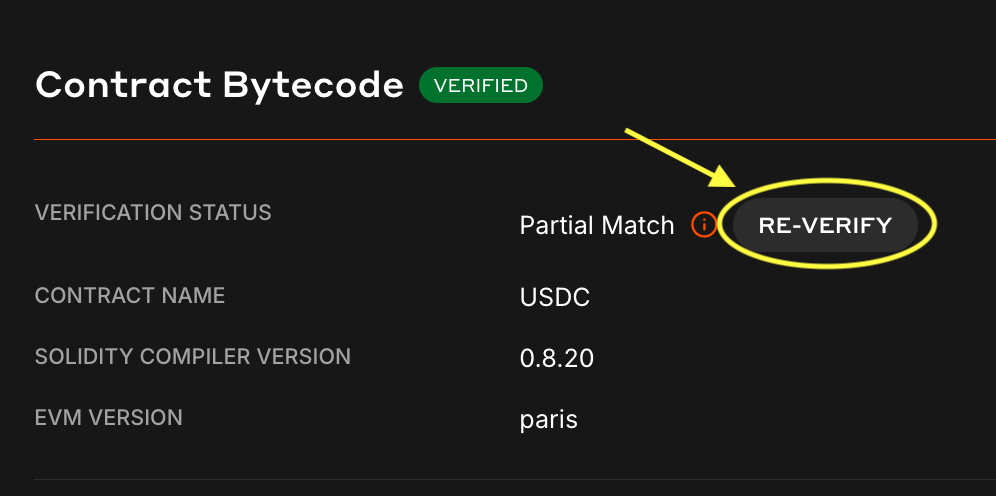
- Re-Verify Smart Contract
- Additional Resources
Step 1: Find the Contract on HashScan
Open a web browser and navigate to HashScan. Make sure you are on the correct Hedera network (mainnet, testnet, or previewnet), and search for the deployed contract address in the search bar at the top of the page. In the Contract Bytecode section click on Verify. The source code file importer popup window will open.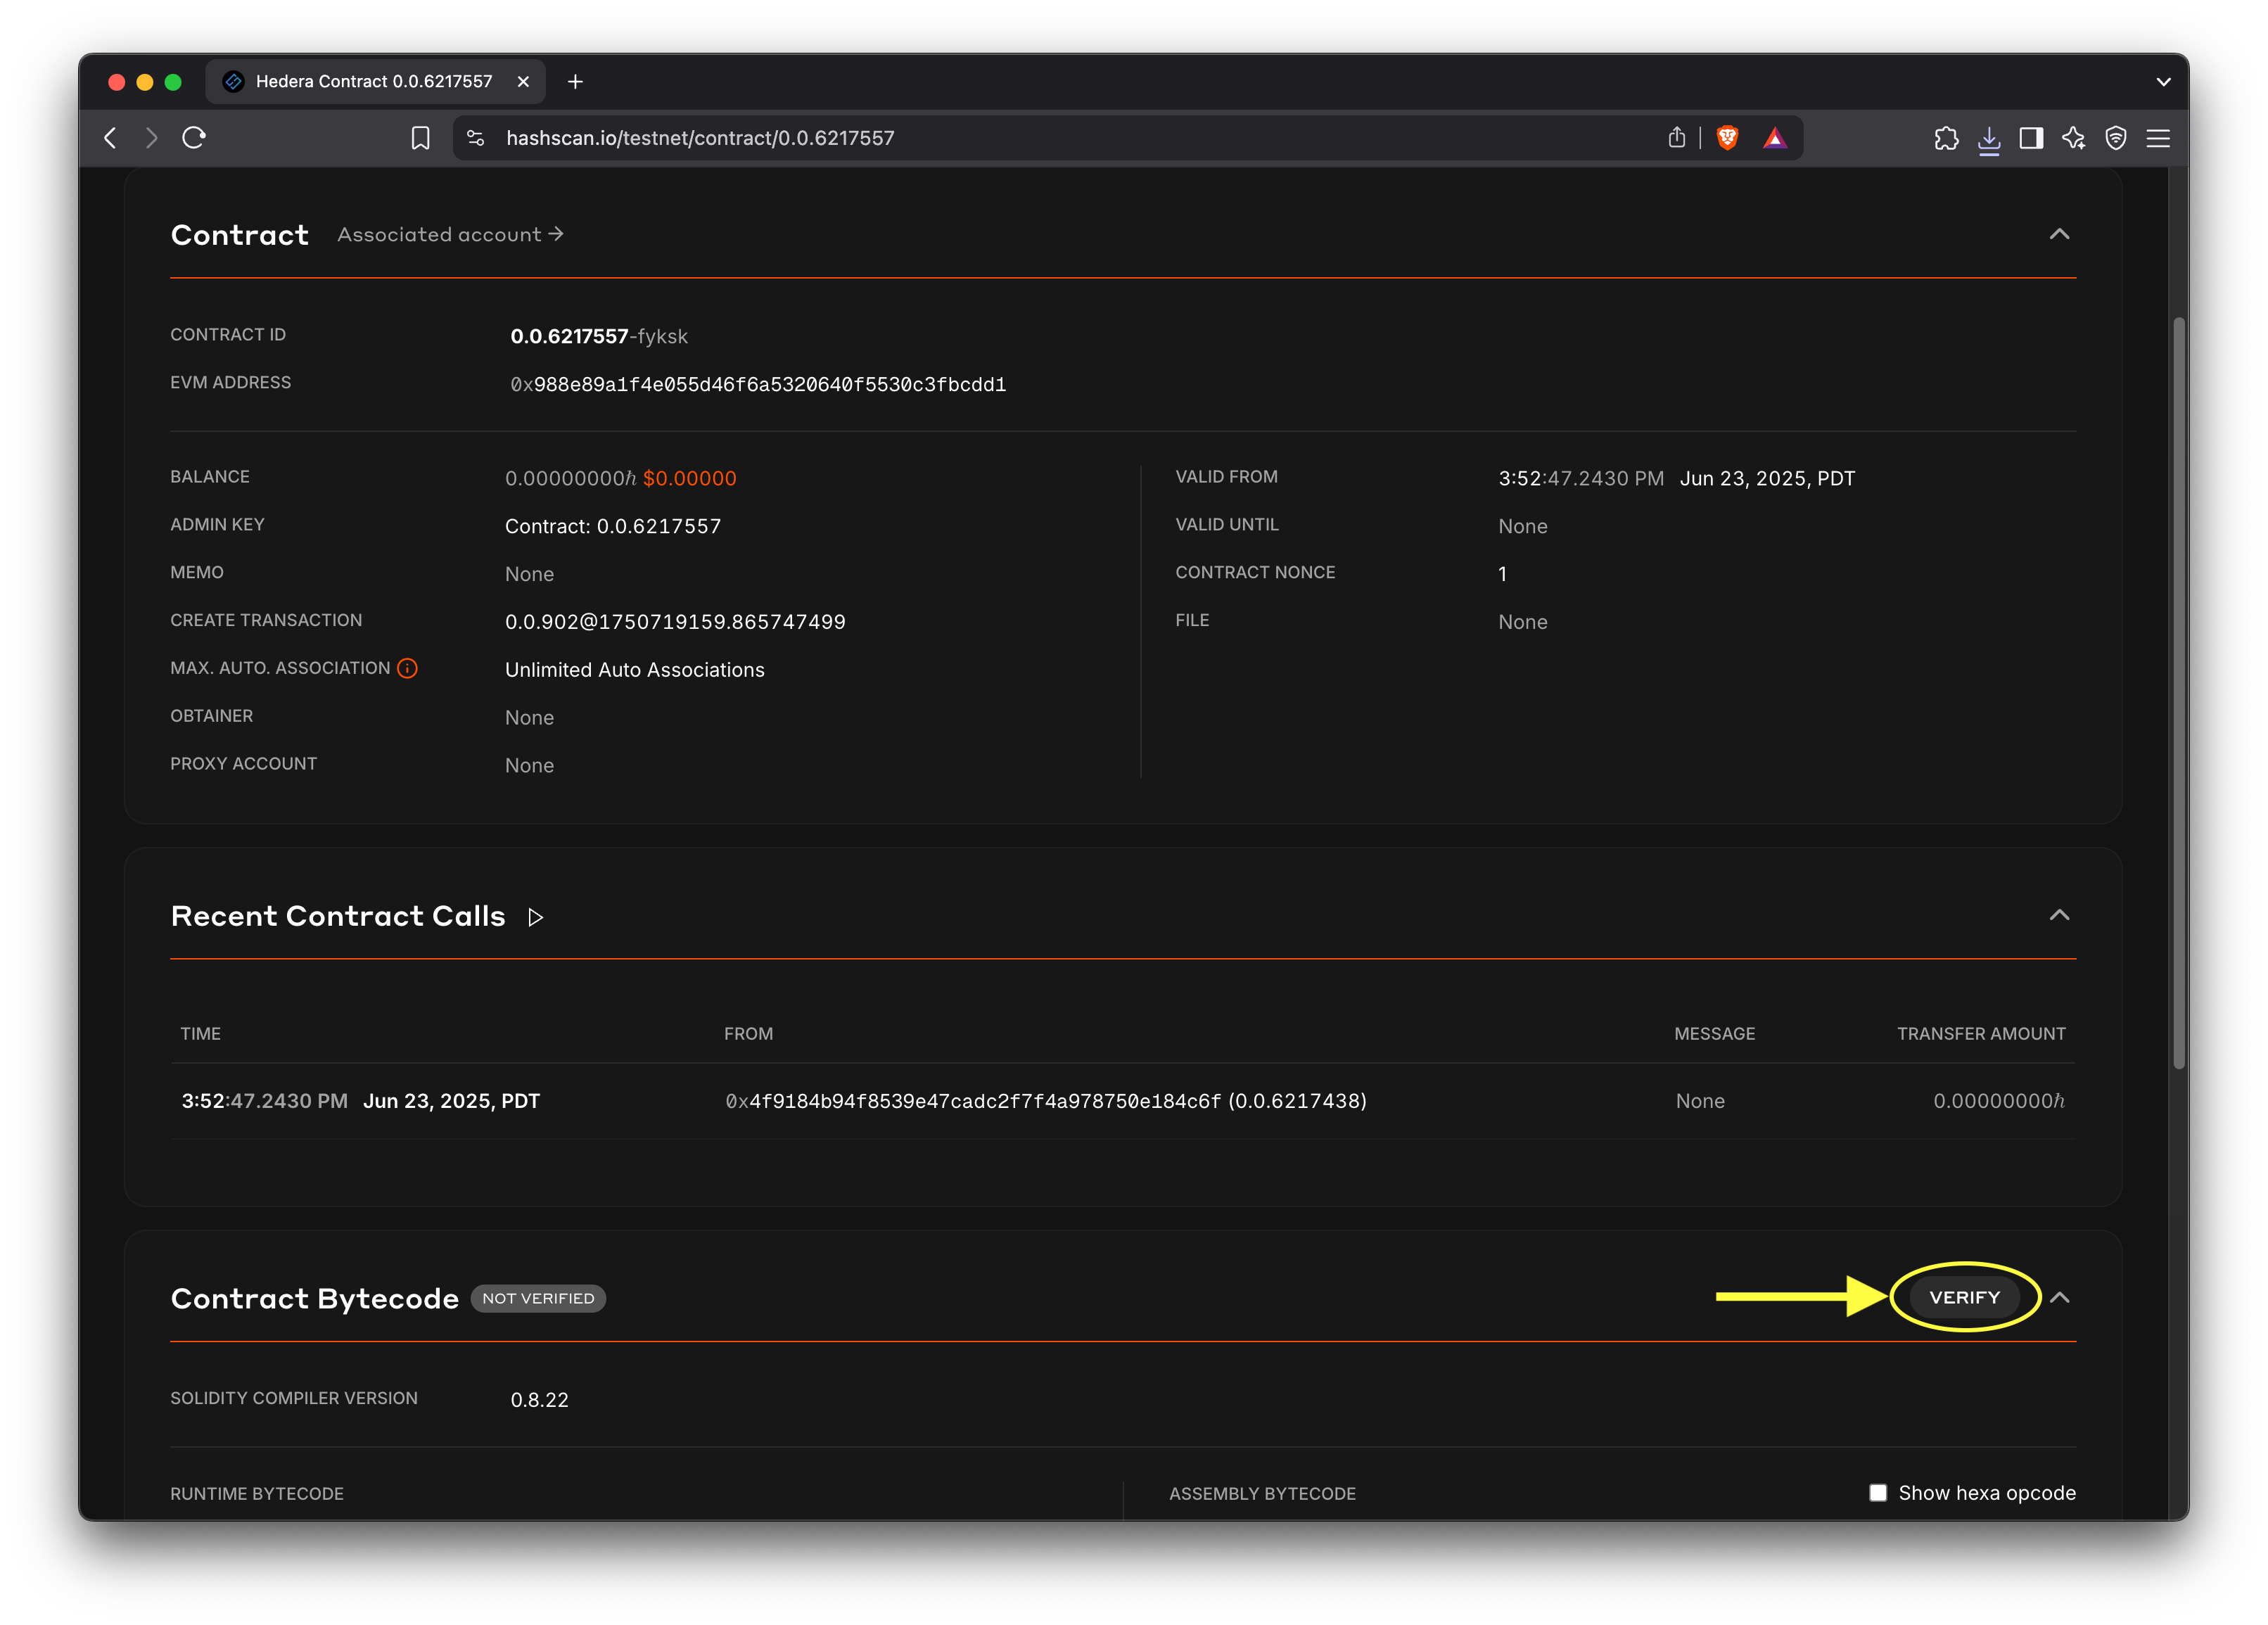
Step 2: Import Source Files
Add your Solidity source code files in the source file importer popup. Source files include the smart contract (.sol) source code file and metadata (.json ) file. The metadata file can be found in the artifacts/ directory of your smart contract project and its name correlates with the smart contract. For example, the metadata for the HelloHedera.sol contract would be called HelloHedera.json.
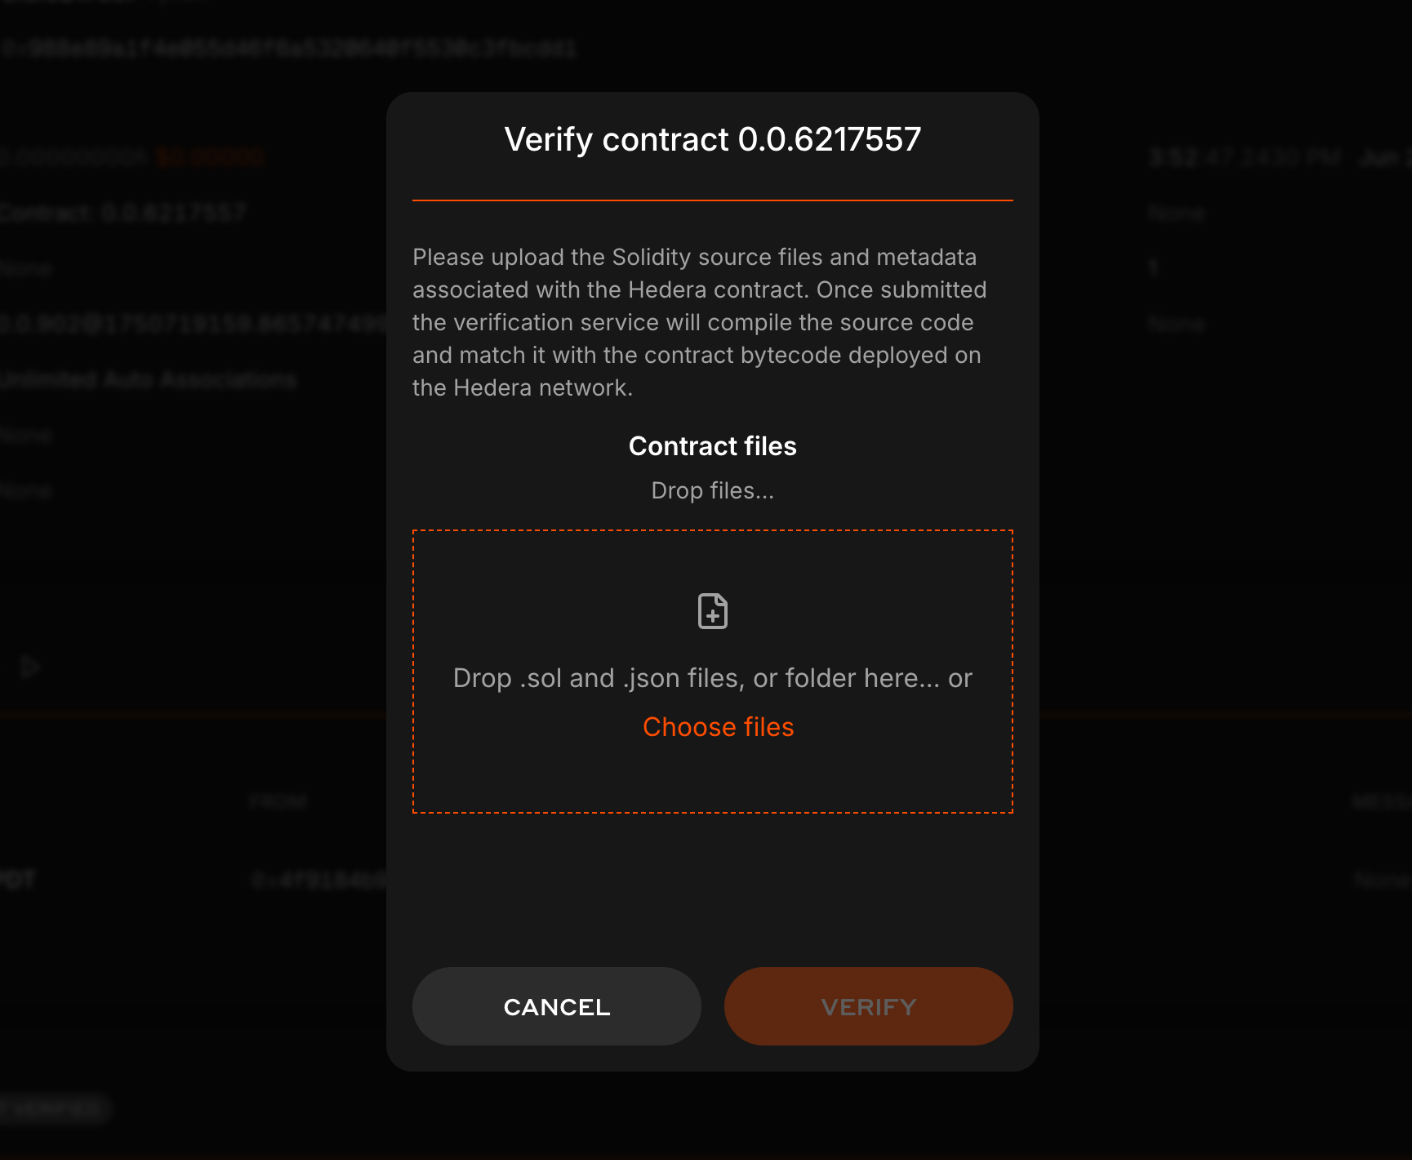
📣 Different compiling tools require specific verification source files. Here's a brief outline of what is needed for popular tools:
📣 Different compiling tools require specific verification source files. Here's a brief outline of what is needed for popular tools:
- Remix:
- Required for Full Match Verification: Both the metadata file found in the
contracts/artifacts/folder and the smart contract’s Solidity file. More details here.
- Required for Full Match Verification: Both the metadata file found in the
- Hardhat:
- Required for Full Match Verification: Only the output of the compilation JSON file found in the
/artifacts/build-info/folder. More details here.
- Required for Full Match Verification: Only the output of the compilation JSON file found in the
- Solidity Compiler (solc):
- Required for Full Match Verification: Both the metadata file (generated by
solc --metadata) and the smart contract’s Solidity file. More details here.
- Required for Full Match Verification: Both the metadata file (generated by
- Foundry:
- Required for Full Match Verification: Both the metadata file (generated by
forge-build) and the smart contract’s Solidity file.
- Required for Full Match Verification: Both the metadata file (generated by
Step 3: Advanced Manual Verification for Complex Contracts
For complex projects with multiple dependencies (such as OpenZeppelin libraries) or upgradeable proxy contracts, manually uploading individual source files can be extremely difficult and error-prone. Each dependency file must be uploaded separately, and ensuring all imports are correctly resolved can be challenging. A more robust approach is to programmatically verify the contract using hardhat/foundry directly but you can also take a manual approach where you generate asingle, self-contained metadata.json file that includes all source code dependencies inline. This single file can then be uploaded to HashScan for verification.
Why Use This Approach?
When your smart contract imports many external libraries and multiple files, the standard manual verification process requires you to:- Upload the main contract
.solfile - Upload the metadata
.jsonfile - Upload every imported dependency file (which can be dozens of files)
Generating the Single Metadata File
Both Hardhat and Foundry projects can be configured to generate this single file using community-developed scripts that leverage the Sourcify standard.-
Download the metadata generation script from Generate Hedera SC Metadata Repo:
-
Run the script to generate the bundles:
-
This produces a directory (e.g.,
verify-bundles/) containing a singlemetadata.jsonfile for each contract. -
On HashScan, go to the contract’s page, click Verify, and upload the corresponding single
metadata.jsonfile.
-
Run the script to generate the bundles:
When to Use This Approach
Use the singlemetadata.json approach when:
- Your contract imports multiple external libraries and files (OpenZeppelin, etc.)
- You’re verifying upgradeable proxy contracts
- The standard manual upload process is too cumbersome
- You want a more reliable verification workflow
Prefer Programmatic Verification: While this advanced manual approach is
more robust than uploading individual files, the programmatic verification
methods using Hardhat’s
hashscan-verify plugin or Foundry’s forge verify-contract command are even more reliable and efficient. See the
standalone verification guides for fully automated workflows.Step 4: Verify Contract
After importing the source files, if you get the “Contract <contract name> is ready to be verified” message, click VERIFY to initiate the verification process. Sourcify will then compare the deployed contract bytecode to the source files you imported in the previous step.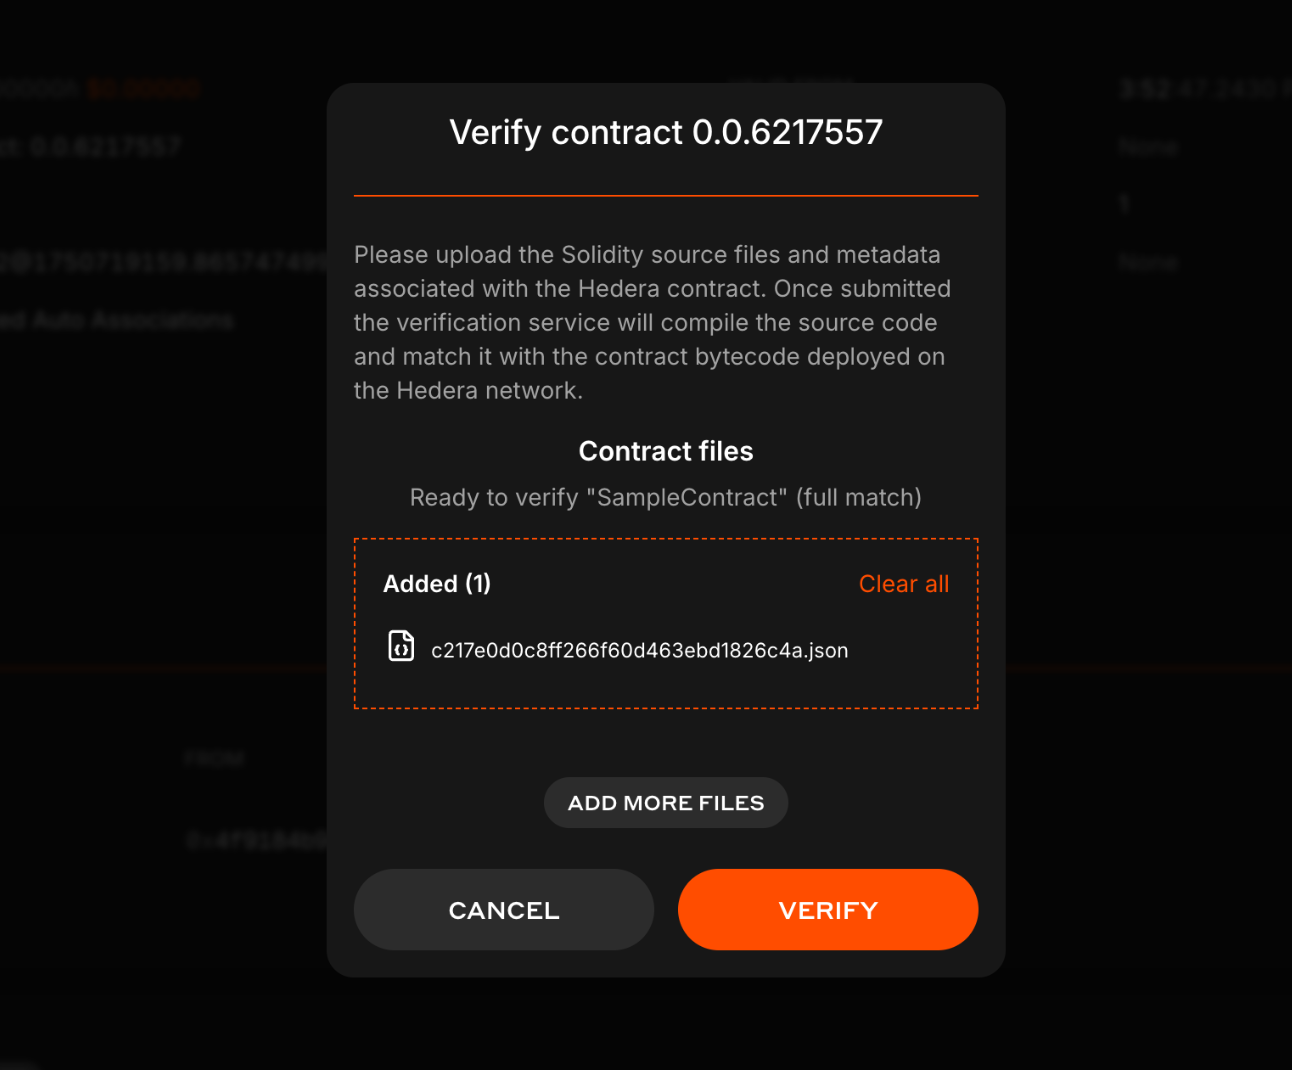
Step 5: Verification Match
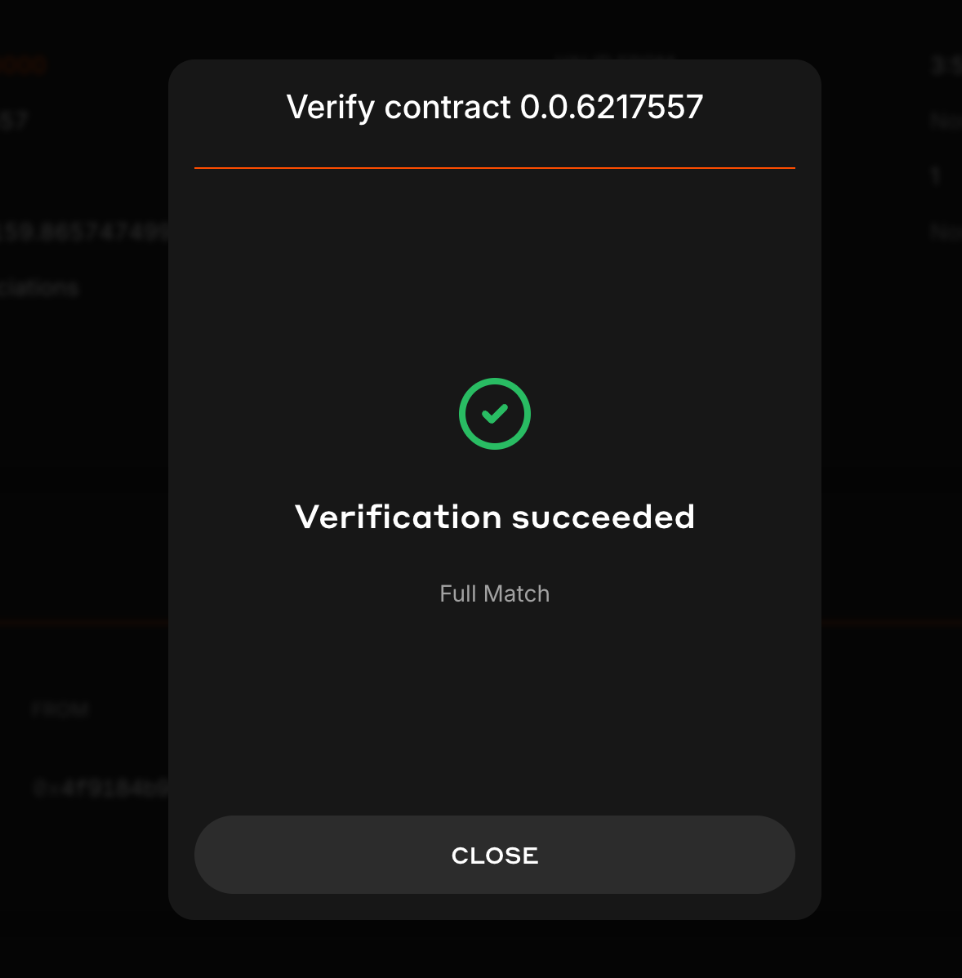
If your verification is successful, the verifier will return either a Full Match or Partial Match status. Let’s review each verification status and what they mean:- Full Match: Indicates the bytecode is a full (perfect) match, including all the metadata. The contract source code and metadata settings are identical to the deployed version.
- Partial Match: Indicates the bytecode mostly (partially) matches with the deployed contract, except for the metadata hash like comments or variable names. It is usually sufficient for most verification purposes.
Step 6: Re-Verify Smart Contract
If you change your contract or want to upgrade your contract from a Partial Match to a Full Match, there are two options for re-verification:Option 1
Head to the smart contract verifier page and import your new updated source files.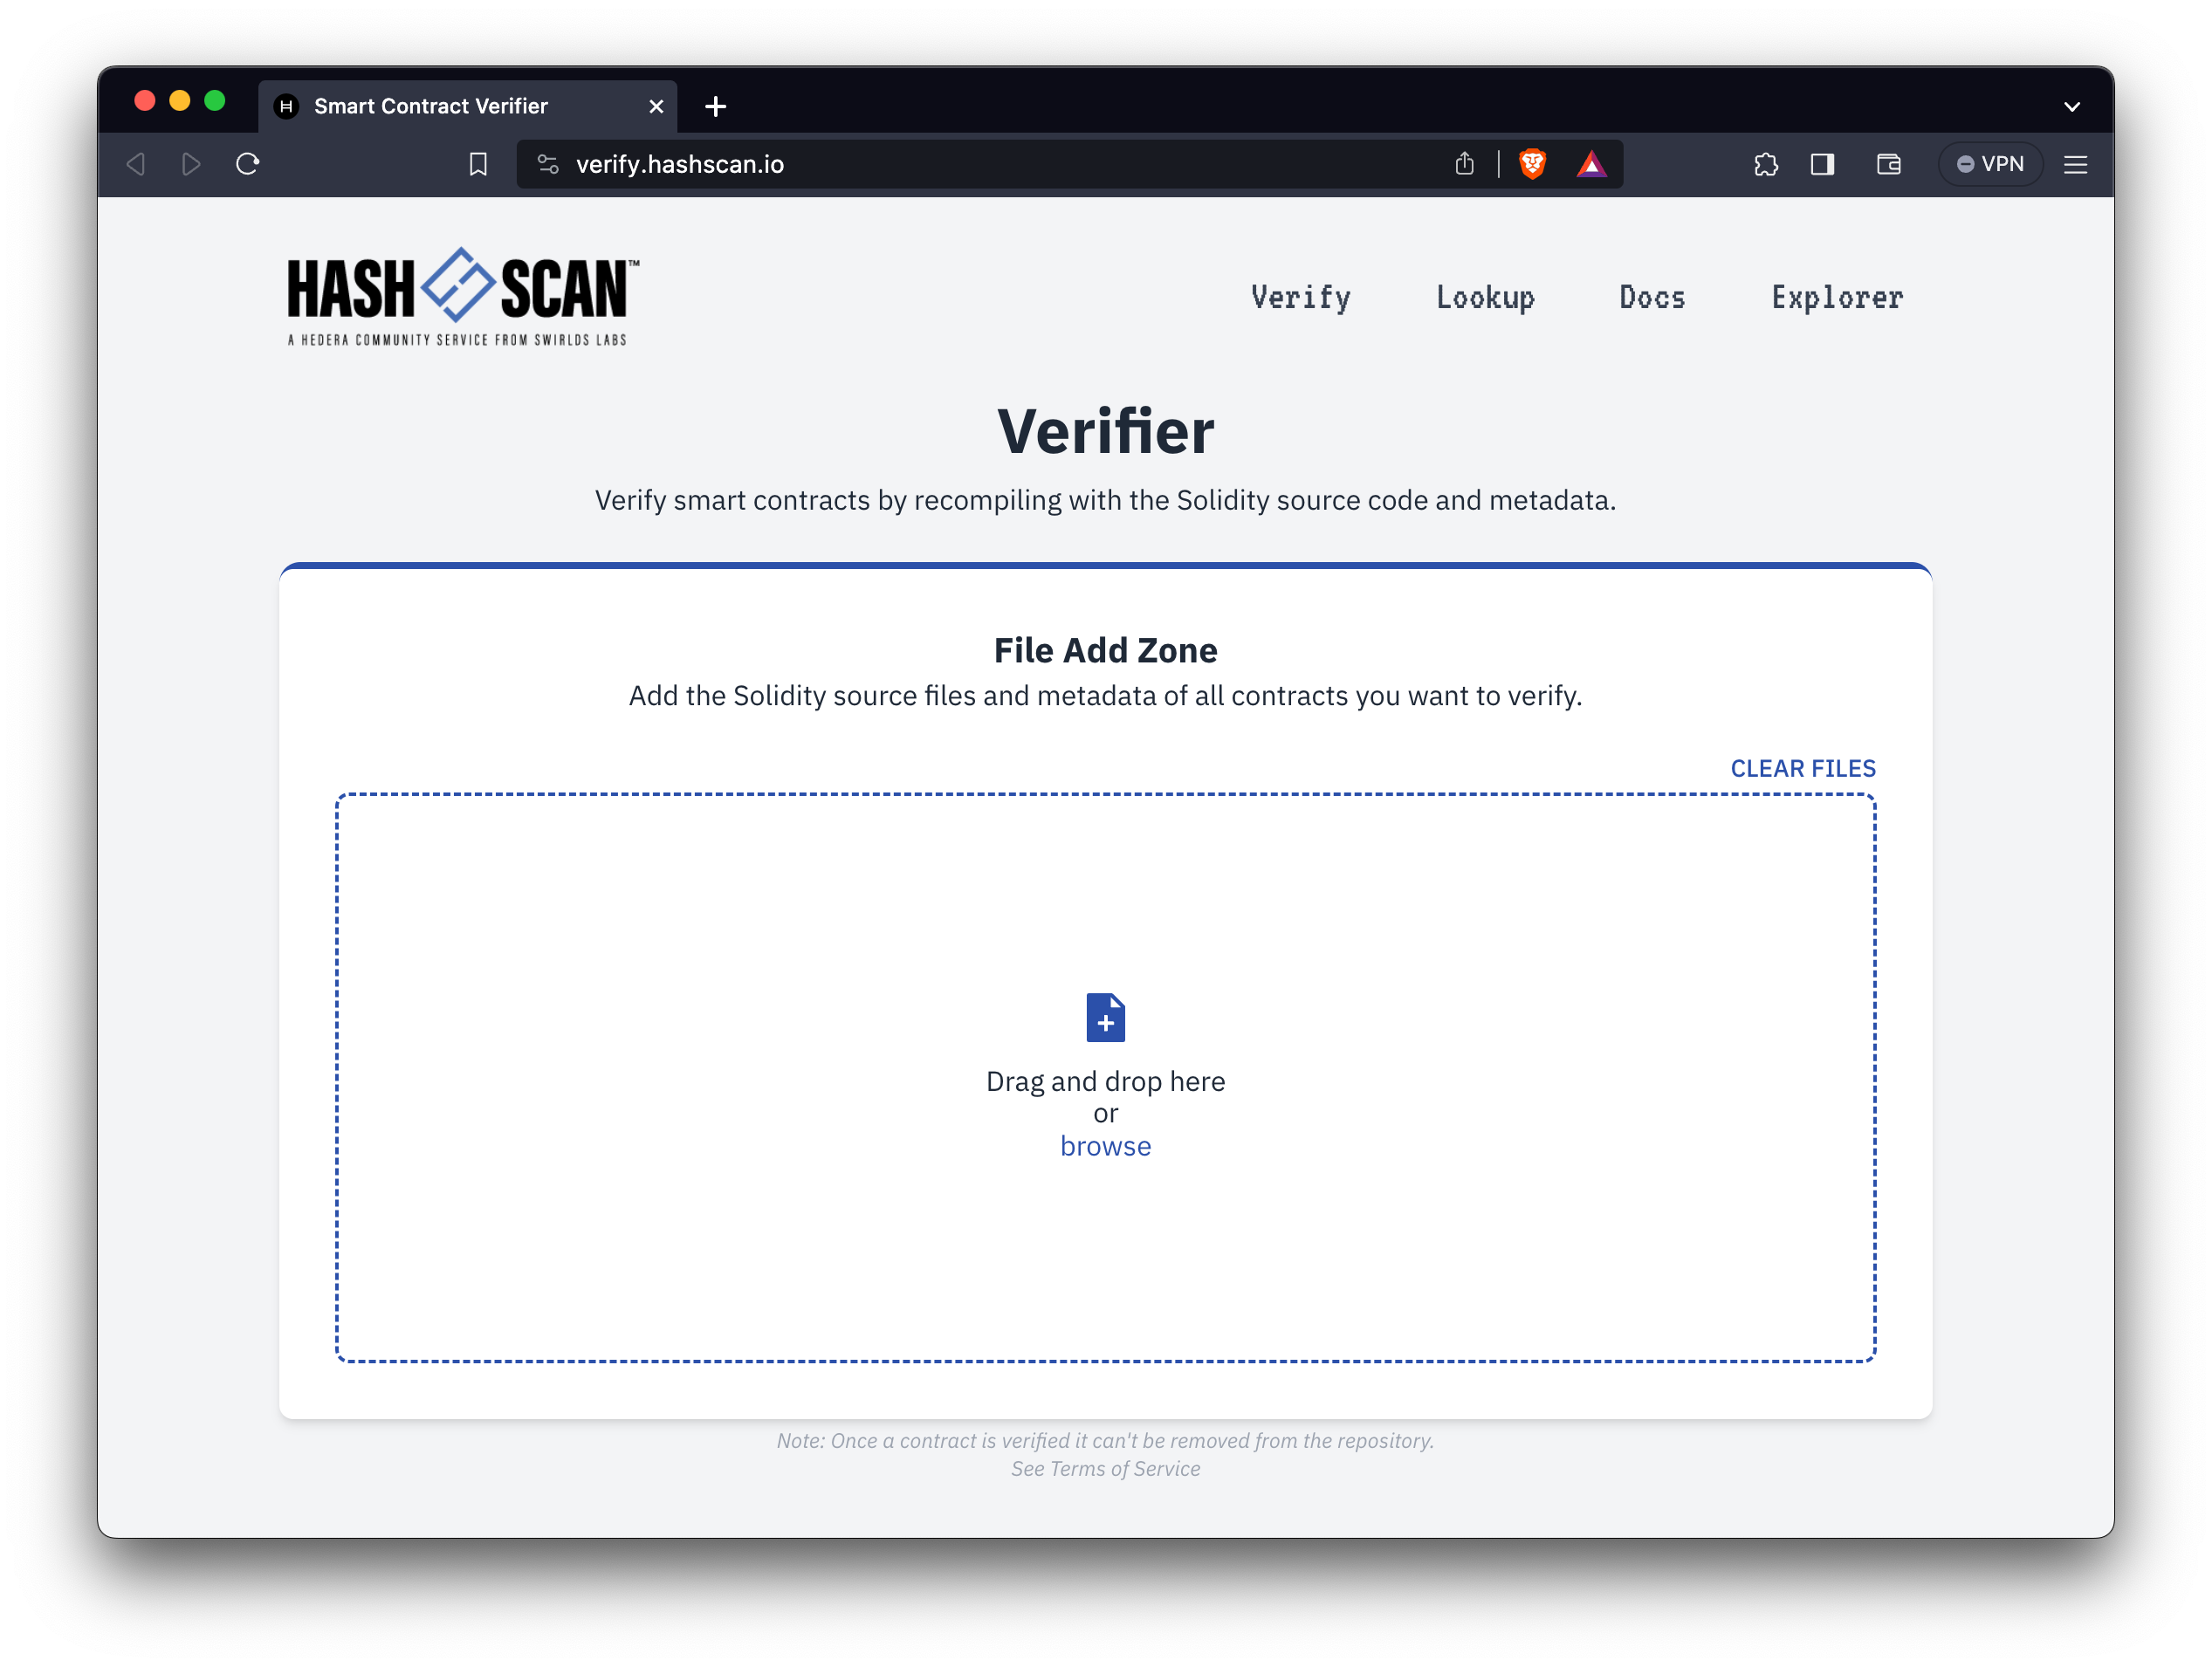
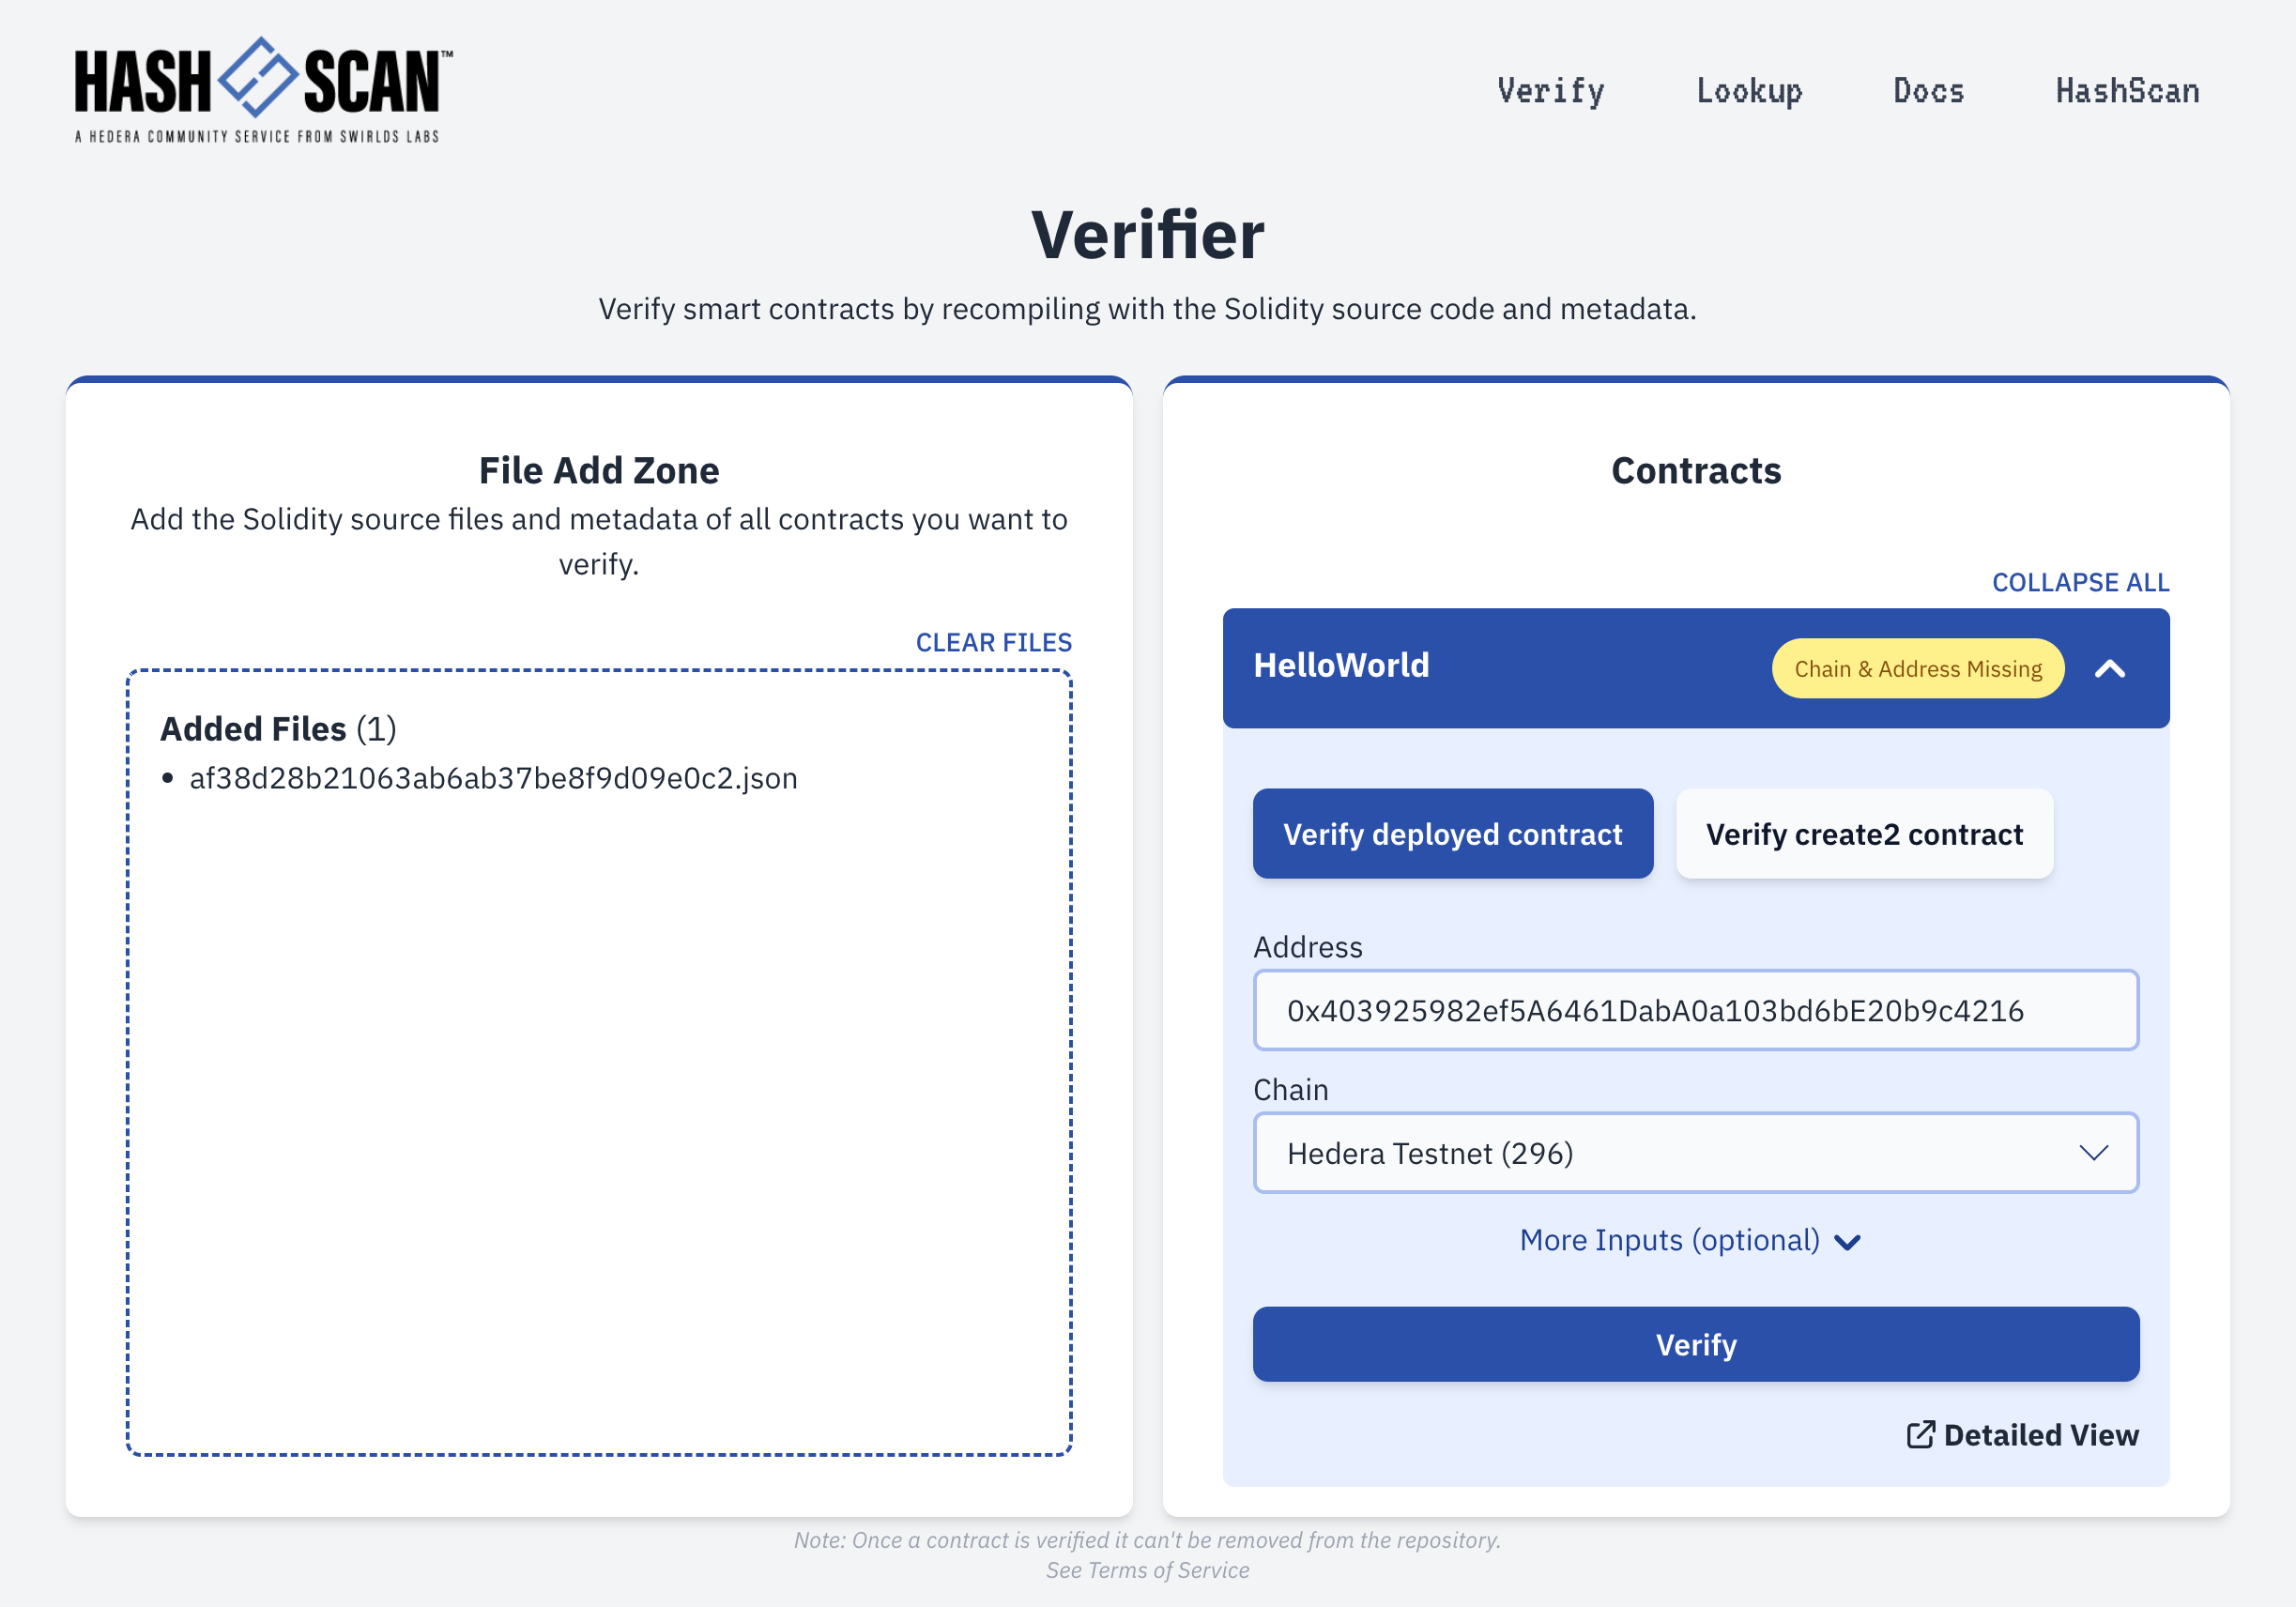
Option 2
Revisit Step 1 and use the Re-verify Contract flow. Then proceed to Steps 2 through 4.